How to implement code block syntax highlighting in Markdown with Next.js
It is very common for websites to display blocks of code. Sites such as developers' blogs and forums have many code snippets displayed for various purposes. These code blocks are often contained in Markdown files.
Unfortunately, Markdown does not provide syntax highlighting like Visual Studio Code or GitHub. By default, it will render the code blocks as simple black text. This not only looks unprofessional but it is also difficult to read.
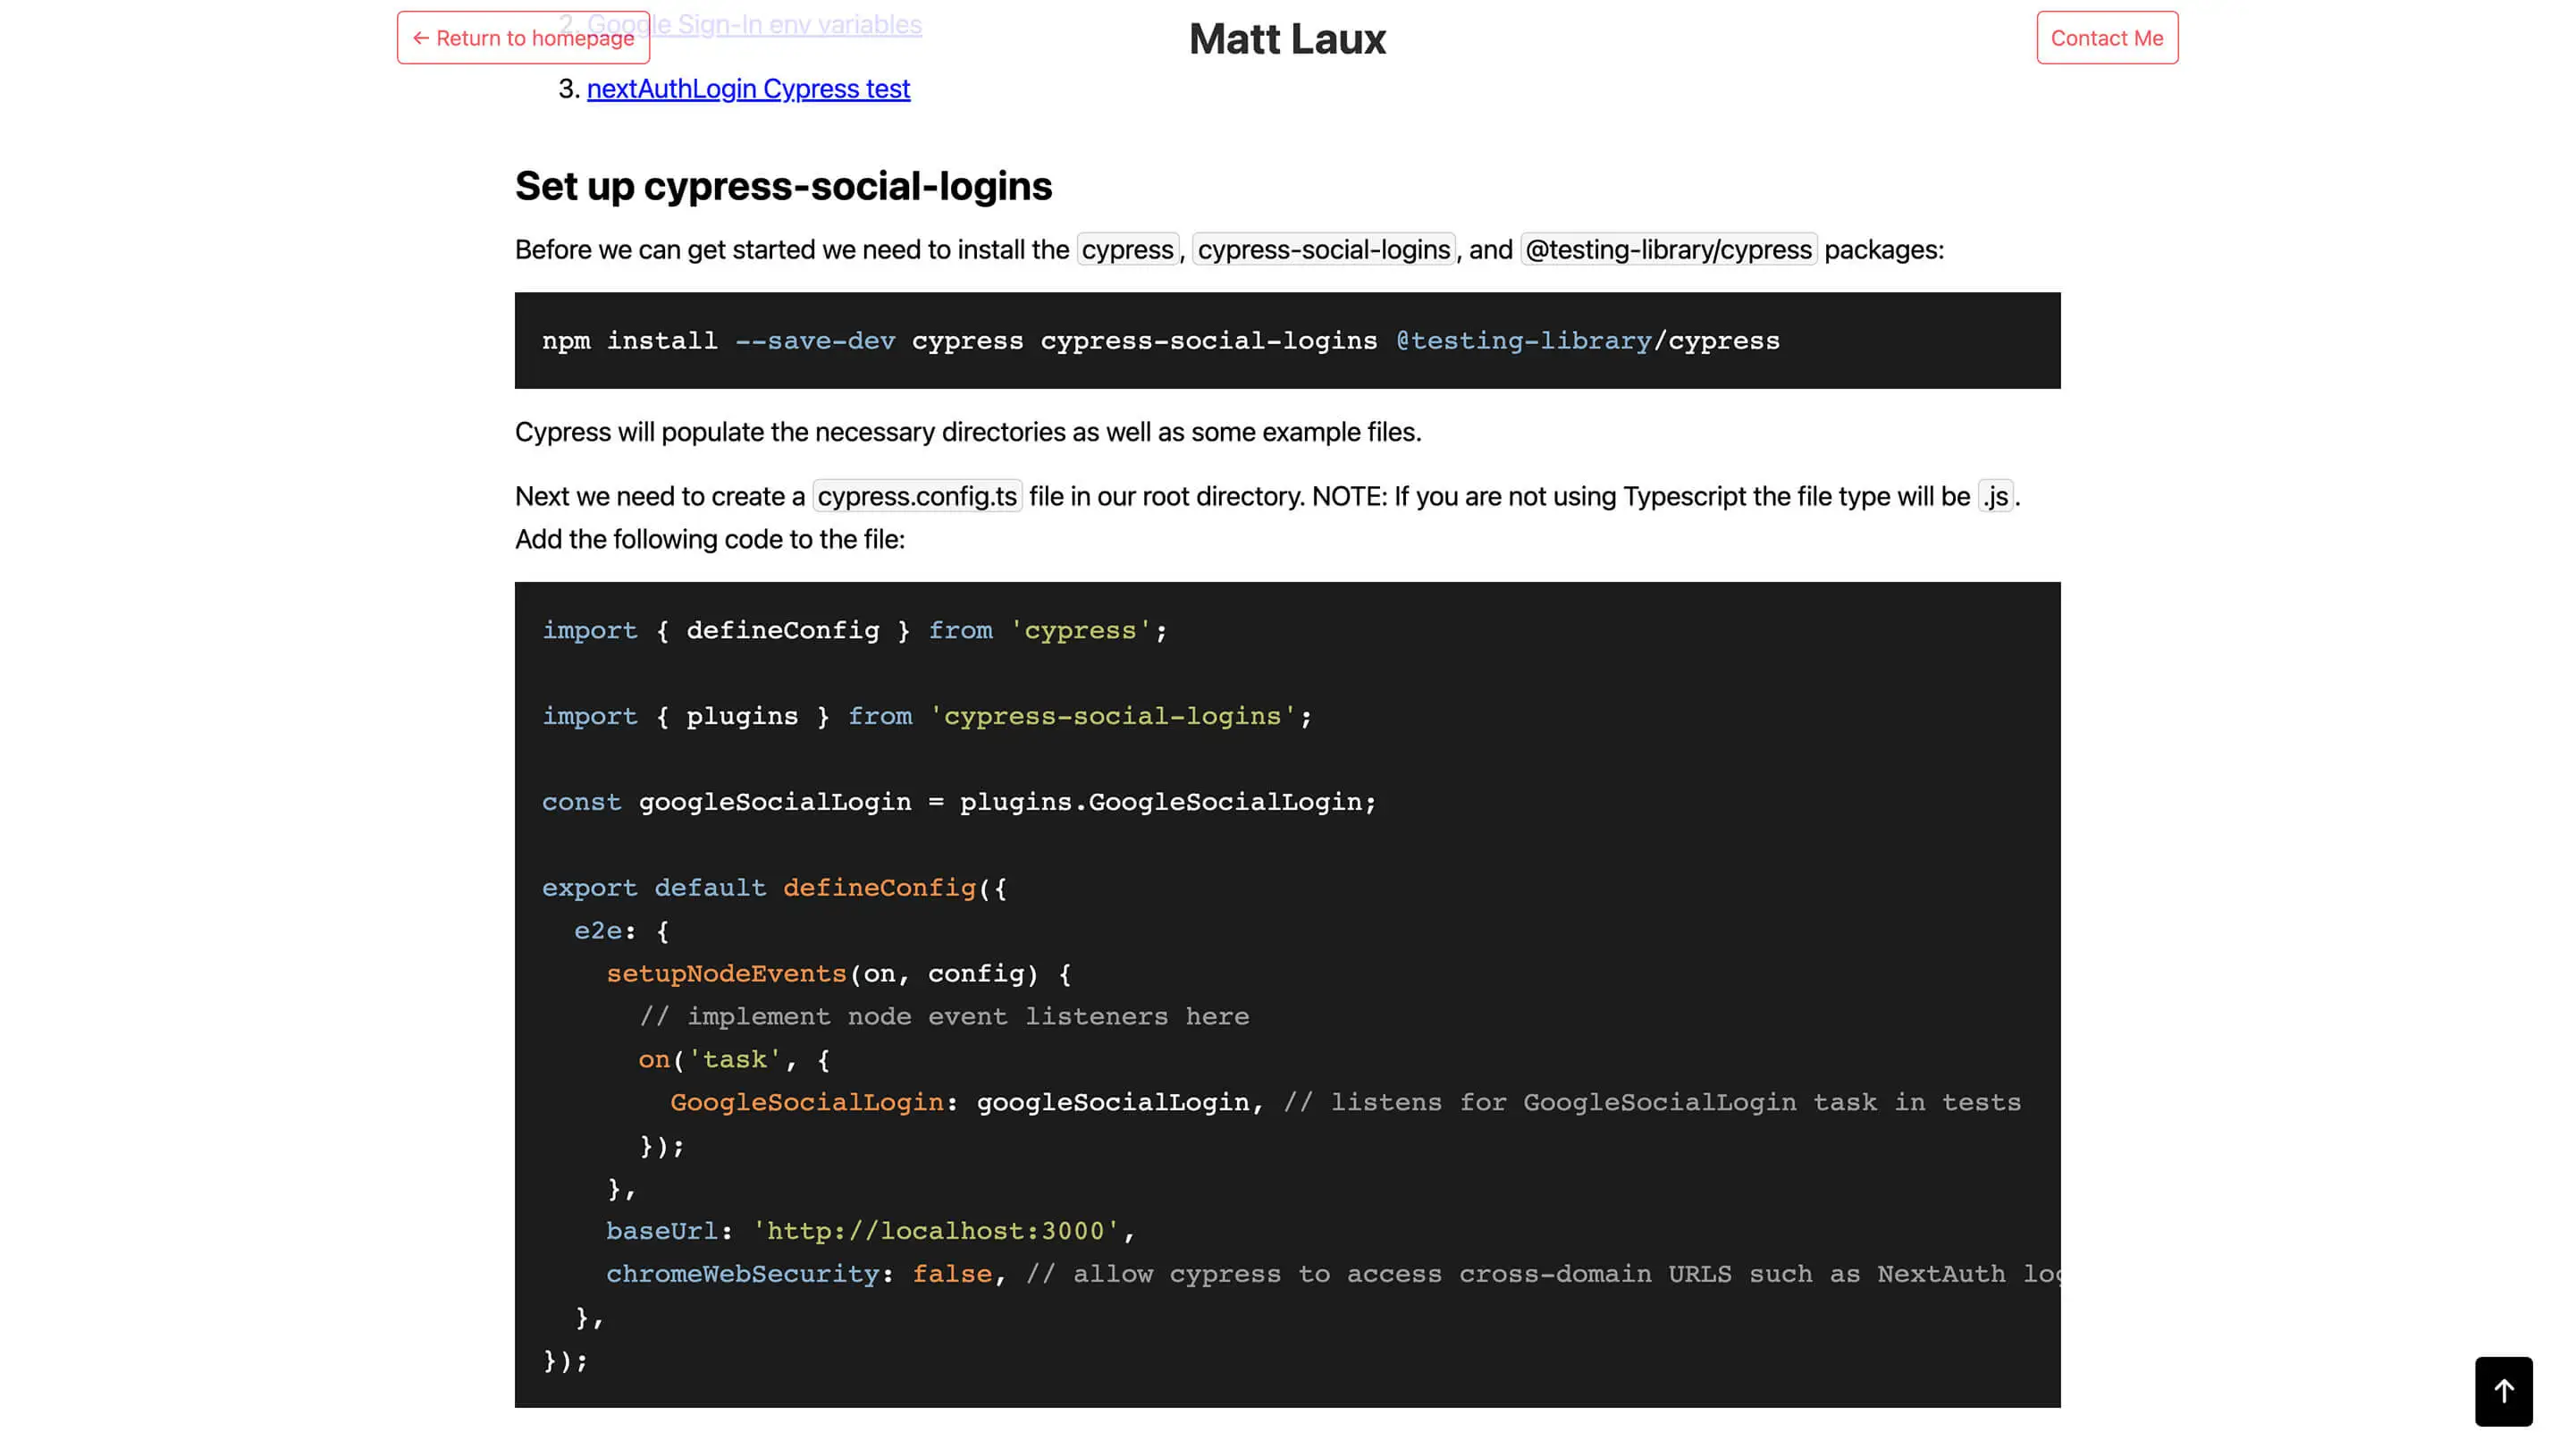
Adding syntax highlighting to your code blocks is a simple process that will greatly increase the quality of your site. The example code block in the image above demonstrates the benefits of syntax highlighting in Markdown. This example is from my article How to set up Google Authentication with Cypress.
Overview
In order to add syntax highlighting you will make use of rehype-highlight and highlight.js. This article assumes that you are using Next.js and already have mdx support established. If you need assistance setting up MDX with Next.js please refer to Next.js' MDX documentation.
Below you can see an image of what the default Markdown code block looks like. If you look on the right-side you will see that your Code component has no classes applied.
Table of Contents
Set up rehype-highlight
The first step is to install the following package:
npm i rehype-highlight
rehype-highlight is a rehype plugin that applies syntax highlighting through highlight.js.
Now that the plugin is installed you need to add it to your next.config.mjs file like so:
import nextMDX from '@next/mdx';
import rehypeHighlight from 'rehype-highlight';

// Set up MDX file support
const withMDX = nextMDX({
  extension: /\.mdx?$/,
  options: {
    // remarkGfm adds support for markdown tables
    remarkPlugins: [],
    rehypePlugins: [rehypeHighlight],
    // If you use `MDXProvider`, uncomment the following line.
    // providerImportSource: "@mdx-js/react",
  },
});

/** @type {import('next').NextConfig} */
const nextConfig = {
  reactStrictMode: true,
  // Append the default value with md extensions
  pageExtensions: ['ts', 'tsx', 'js', 'jsx', 'md', 'mdx'],
};

export default withMDX(nextConfig);
NOTE: The next.config.mjs file can be found here. I am using Typescript with esnext modules in this example which is why I have slightly modified the file from Next.js' documentation. This is also why the file has the .mjs file type.
Restart your dev server and you should notice that your code components now have classes applied. Next step is to add the CSS styles.
Download themes from Highlight.js
In order to get the necessary CSS styles for the syntax highlighting classes you need to download them from hightlight.js. highlight.js is offered through a CDN; however, you will be directly downloading a CSS styles sheet. This works better with Next.js' rendering system.
Navigate to this page and scroll down to Custom package. Select the languages you would like syntax highlighting for and then click download. A zip file called highlight should download. Extract the contents and you should see a styles folder. Click on this folder and you will see many CSS style sheets. These are all different themes of syntax highlighting.
Use highlight.js' demo to select the theme you would like to use. My favorite is stackoverflow-dark.
Once you have decided upon a theme, copy and paste the theme's .css file from the downloaded highlight folder into your project's styles folder. Your theme file should be in the same location as your globals.css file.
Now in _app.tsx add the following line:
import '../styles/stackoverflow-dark.min.css';
You should now see the styling applied to your Markdown code blocks.
Changing the language support
By default rehype-highlight will add Javascript syntax highlighting to your code block. However, if you would like to add syntax highlighting for a different language you can adjust your Markdown code block by adding the language after the top three backticks:
```python
import nextMDX from '@next/mdx';
import rehypeHighlight from 'rehype-highlight';

// Set up MDX file support
const withMDX = nextMDX({
  extension: /\.mdx?$/,
  options: {
    // remarkGfm adds support for markdown tables
    remarkPlugins: [],
    rehypePlugins: [rehypeHighlight],
    // If you use `MDXProvider`, uncomment the following line.
    // providerImportSource: "@mdx-js/react",
  },
});

/** @type {import('next').NextConfig} */
const nextConfig = {
  reactStrictMode: true,
  // Append the default value with md extensions
  pageExtensions: ['ts', 'tsx', 'js', 'jsx', 'md', 'mdx'],
};

export default withMDX(nextConfig);
You can see how the classes change from js to python.
As the code is actually JavaScript and you are applying Python syntax highlighting, there is very minimal highlighting occuring. If this were Python code there would be a greater benefit.
